Our Homemade Brooder
Once we ordered our chicks, we knew we’d need to set up a brooder for them. Without a momma hen to care for them and keep them warm, a brooder was imperative to the babies’ survival.
Now, I’m not a chicken expert by any means. This is my first rodeo, so to speak, on the chicken rearing frontier. I’ve been assured that chickens are “easy,” and after all the reading and research I’ve done, it seems like it’s true. Well, maybe a better word would be “simple.” Chickens are simple. I’m the first to admit that I have much to learn and have little experience, so please don’t take this post as any kind of expert advice. I’m learning as I go.
If you’re looking to get started with raising chickens, you’ll need to remember that the brooder needs to serve three main purposes: Keep those babies SAFE, WARM, and CLEAN. That’s it really. Almost anything can be used as a brooder as long as it serves to keep the chicks safe, warm, and clean.

We wanted to keep our expenses as low as possible, especially since we were going to be ordering 25 chicks. Chickens aren’t expensive, but they aren’t cheap either – especially when you’re buying 25 at a time. We looked around what was left behind by the previous owners and found almost all of the materials we needed.
First up was the brooder container itself. For this we used a kiddie pool. I used a screwdriver to poke holes around the outer rim and placed garden stakes (like these) through each hole. To these poles, I attached hardware cloth (like this) with zip ties. The amount of hardware cloth I had wasn’t quite enough to go around the entire circumference of the pool, so I used a softer mesh to finish it out. This actually worked out perfectly as it allowed me to have a bit of a gate for easier access to the birds and for cleaning. While we used a kiddie pool, you could use just about anything – a cardboard box, a plastic tote, an old dog kennel. As long as it can keep those birds safe, warm, and clean, you can use it.

In a couple of weeks, I’ll elevate the waterer and feeders onto bricks and add in a few roosting bars for the girls too. They can already hop and “fly” a few inches off the ground, so in the near future, I’ll be taking another kiddie pool and placing it on top of this set up to keep the girls in their brooder until it’s time to move them outside.
For bedding, I decided to use chopped straw. It’s clean and absorbs the wet droppings of the baby chicks easily. To keep things fresh and dry, I’ll make sure that I stir it up every day or so and add fresh straw on top. This is essentially the “deep litter method” and it’s what we use in our outdoor coop for our hens who are already laying. The soiled bedding will make a great addition to my compost pile, too. You could opt to use pine shavings, shredded newspaper, or even paper towels.
Speaking of paper towels…for the first couple of days, we laid some out for the chicks. This allowed them to learn what was food. Otherwise, they might try to just eat the straw.

The waterers and feeders I found in the old shed cleaned up nicely. Unfortunately, I discovered that one of the waterer bases had a crack and was losing water. I ended up switching out from two smaller waterers to one that is a gallon in size. We put some marbles in the waterer’s base to keep the chicks from drowning in the shallow water. Remember, you want to keep those chicks SAFE!
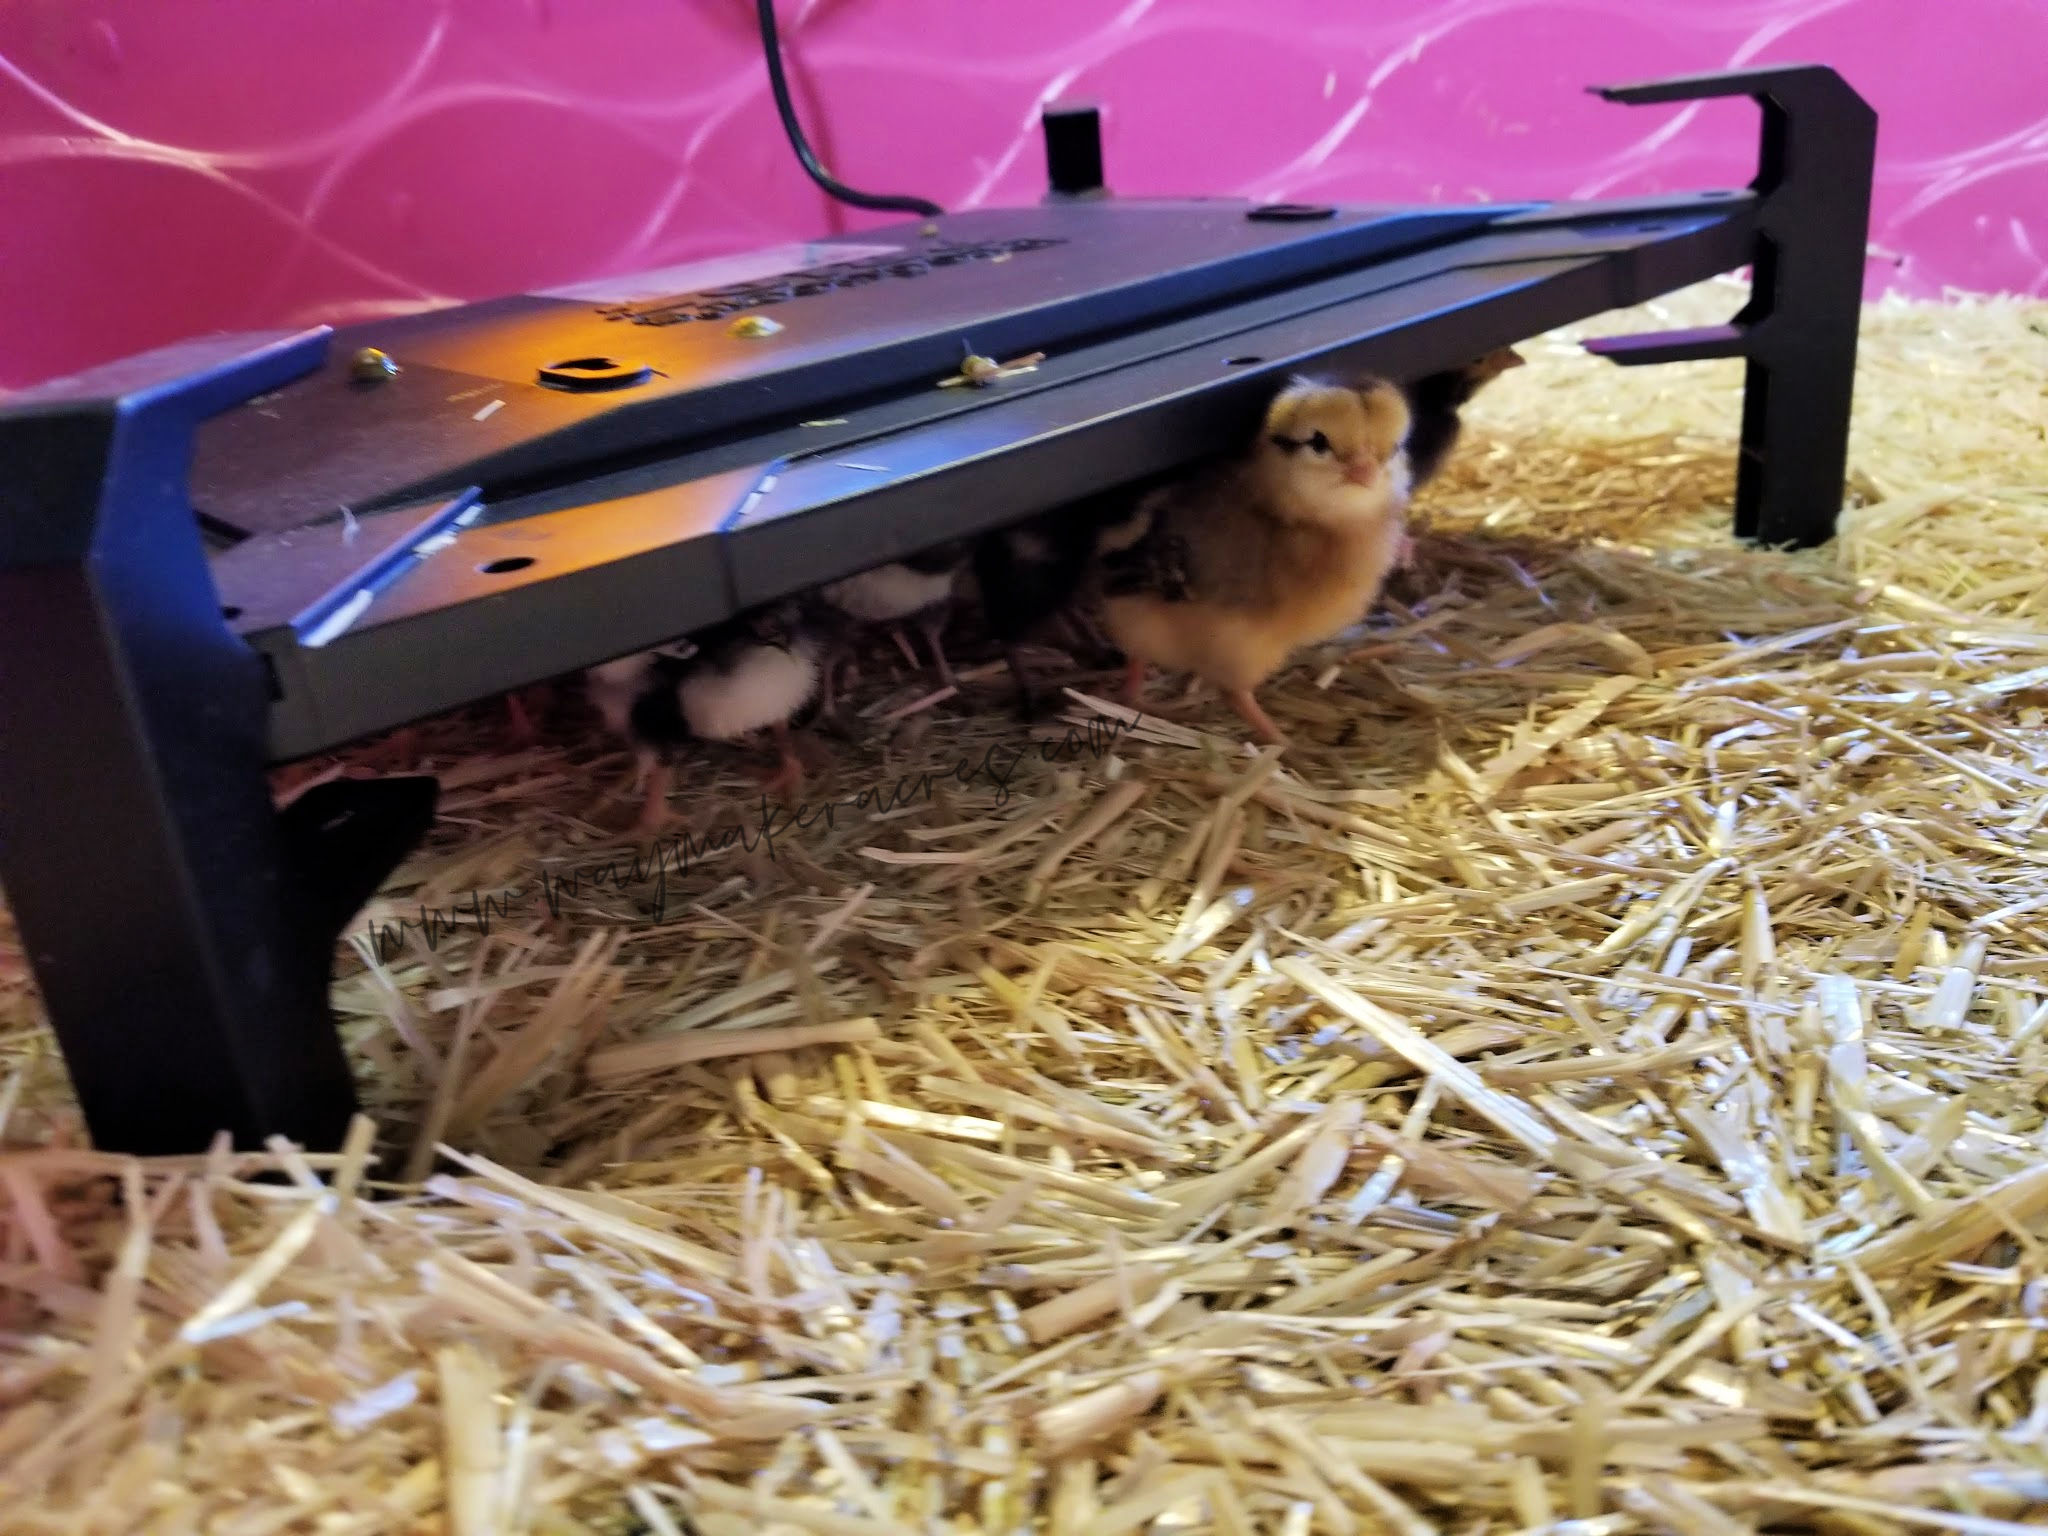
To keep the chicks warm, I opted to go with a brooder heater instead of a heat lamp. I’ve read too many stories of chicken coops and homes that have been destroyed because of a heat lamp gone rogue. I just didn’t think that the Firefighter would like it too much if his wife burned down their home trying to keep her chickens warm. And let’s face it, I wouldn’t like it too much either.

The heater I am using has two settings – Brooder and Heater – and 3 height levels so I can adjust it as the birds grow. The brooder heater was really the only thing I had to purchase besides feed and bedding. Everything else we needed was already here on the property. The safety and peace of mind were worth the $40ish spent on it.
As you can see, setting up the brooder was simple. The babies need food, warmth, and safety, and that’s what they are going to get!
Have you raised chickens before? What did you use as a brooder?


-
-
5 years
Tagged baby chicks, broody hens, chickens, sustainable flock